
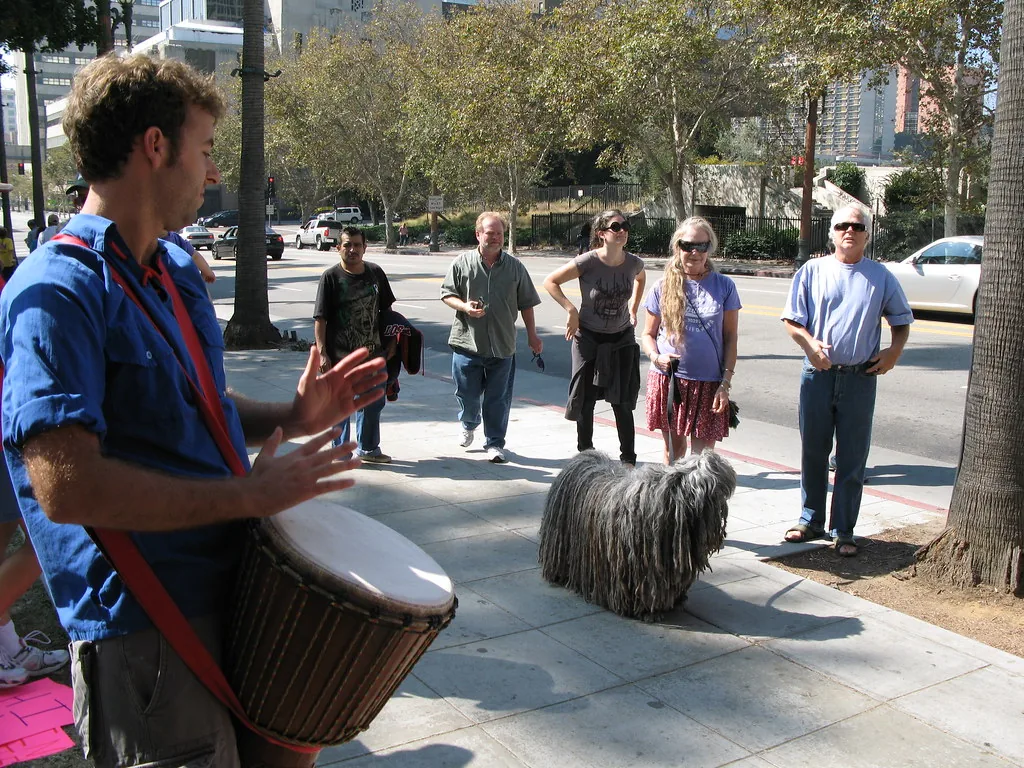
Mastering how to tune your instrument is essential for achieving a clear, powerful sound. It will help you play like the finest Manding percussionists. This guide will take you through every step, whether you are a beginner or an experienced musician.
You will learn to recognize the signs of a poorly tuned djembe. A muffled sound or dull bass notes may indicate a problem. We will also explore traditional tensioning methods, such as the pivot-lever technique.
Even tension across the head is crucial to your instrument’s longevity. This guide will show you how to make your own tuning tools. You will also discover how to avoid common mistakes that could damage your instrument.
Whether you play for pleasure or at ceremonies, proper tuning will transform your musical experience.
Introduction: the importance of tuning your djembe properly
Properly tuning your instrument is fundamental to ensuring the best possible musical experience. A well-tuned djembe produces the rich and varied sounds essential to percussion. This affects not only your performance but also the harmony within a group.
Why tuning your djembe is essential
A properly tuned djembe produces deep, resonant bass notes, balanced midrange tones, and crisp slaps. These elements are crucial during group percussion sessions. The tension of the head directly determines the pitch. A head that is too loose produces a dull sound, whereas controlled tension provides an immediate, dynamic response.
Understanding head tension and its effect on sound
It is essential to understand the relationship between the force applied to the ropes and the response of the animal hide. This helps prevent mistakes that could ruin your instrument. Goatskin, for example, is traditionally used and reacts to changes in temperature and humidity. It loosens in cold, damp weather and tightens in hot, dry conditions, requiring regular adjustments.
Service life and fragility of an animal-skin head
A well-maintained head lasts around one year, although this can vary. A head subjected to excessive tension may develop invisible microcracks that worsen until it tears. Warning signs include visible cracking and a loss of flexibility. Investing time in learning tuning techniques is therefore crucial.
The feeling you get after working on the tuning of your djembe is incomparable. As José Francisco Ortega Viota says, “listening to its wonderful sound is simply orgasmic.” To learn more about tuning methods, you can read this article here.
Preparing your djembe before tuning
Before you begin adjusting your instrument, it is essential to prepare it properly. This step ensures that the djembe is in ideal condition for tuning. Preparation includes setting it up correctly, checking the head and ropes, and warming the head.
Setting up and positioning the instrument
First, place your djembe on a stable, nonslip surface. A nonslip mat is ideal for preventing movement while you tune it. Position yourself comfortably according to the technique you are using. For the pivot-lever technique, for example, lay the djembe down and sit astride its base. For the fulcrum-lever technique, sit on a chair facing the instrument.
Checking the condition of the head and ropes
Before starting, carefully inspect the condition of the head. Look for cracks, unevenly worn areas, or discoloration. These issues can affect your instrument’s tone. Next, inspect every vertical rope and each return in the lacing. Replace any frayed or worn rope to prevent it from snapping during tuning.
Warming the head: why and how
Warming the head is a crucial step that is often overlooked. Play gently across the entire striking surface for five to ten minutes. This relaxes the collagen fibers and makes them more responsive to tension. Do this in a warm environment, ideally at a temperature of at least 20°C (68°F) and away from drafts.
Basic tools required for tuning
Before you begin, gather all the necessary tools. You will need locking pliers, a sturdy flat-head screwdriver, a hammer, and a hardwood lever. The lever’s dimensions vary according to the chosen method: approximately 55 cm (22 in) for the pivot technique and between 90 cm and 1 meter (35–39 in) for the fulcrum technique. You should also wear nonslip work gloves to protect your hands.
How to tune a djembe easily: head-tensioning methods
To achieve the best sound from your instrument, you must master the methods used to tension its head. Two techniques stand out: the pivot-lever technique and the fulcrum-lever technique. Each offers distinct advantages for effectively tensioning your djembe.
Pivot-lever technique
The pivot-lever technique is the most widespread traditional method for tensioning a djembe. It uses a hardwood lever inserted beneath the rope returns to multiply the applied force.
- To make the lever, choose a hardwood handle approximately 55 cm (22 in) long and 4 cm (1.6 in) in diameter. Shape one end into a point and sand it carefully.
- Lay the djembe on the floor and sit astride its base.
- Insert the lever beneath the second rope return, moving from left to right.
- Pull the handle toward you while rotating it clockwise.
- If excessive slack prevents the rope from reaching the desired tension, wind the excess rope around the handle before pulling again.
- Clamp the rope with locking pliers immediately after it passes through the upper bridge.
- Repeat this process for each rope return.
Fulcrum-lever technique
This method provides a powerful alternative for djembes that require extremely high tension. It uses a longer lever, measuring 90 cm to 1 meter (35–39 in), with a handle 3 cm (1.2 in) in diameter.
- Cut a stop notch 13 cm (5 in) from the beveled end, with a depth of 0.5 to 1 cm (0.2–0.4 in).
- Use a rope-pulling device fitted with a rope loop and position it a few centimeters below the upper ring.
- Insert the lever into the loop and place the beveled section against the joint between the base and bowl.
- Pull the lever toward you while pushing against the bowl with your feet to achieve maximum tension.
- Repeat this process for each rope return, consistently clamping the rope with the locking pliers after every pull.
These techniques are essential for ensuring that the head of your djembe is tensioned correctly, which contributes to the instrument’s sound quality. To learn more about assembling and tuning a djembe, read this article here.
Making and using specialized tuning tools
Making and using suitable tools is essential for precise, efficient tuning. These tools will help you manage rope tension effectively, thereby ensuring the sound quality of your instrument.
Choosing and preparing a suitable lever
Your choice of wood is crucial when making a lever. Choose dense, durable species such as oak, ash, acacia, or beech. These woods can withstand forces of several hundred kilograms without splitting or bending under pressure.
For the pivot-lever technique, prepare a round handle approximately 55 cm (22 in) long and 4 cm (1.6 in) in diameter. Carefully shape one end into a rounded point and sand it with fine-grit sandpaper. This will help it slide beneath the ropes without damaging them.
For the fulcrum-lever technique, select an even stronger piece of wood. The lever should be between 90 cm and 1 meter (35–39 in) long, with a handle 3 cm (1.2 in) in diameter. Bevel the end so that it rests securely against the joint between the base and bowl.
Using locking pliers, a screwdriver, and a rope puller
Locking pliers are an indispensable safety tool. They clamp the rope immediately after each pull, preventing any loss of tension while you reposition your hands. The flat-head screwdriver is used to separate the ropes gently so that you can insert the lever or rope puller without damaging the polyester fibers.
The hammer can be used to make minor adjustments to the position of the metal rings. The rope puller, fitted with a strong rope loop, is specifically intended for the fulcrum-lever technique. It is positioned a few centimeters below the upper ring and serves as an intermediate anchor point that multiplies the force applied to the rope being tensioned.
Tips for getting the most from your tools
To optimize the performance of your tools, keep them clean and free from grease. A slippery lever or pliers with dirty jaws will significantly reduce pulling efficiency. It also increases the risk of injury from slipping.
Lightly lubricate the joints of the locking pliers with a drop of machine oil after every three or four complete tuning sessions. This ensures an immediate, secure grip that will not slip under the extreme tension of the ropes.
Finally, store your tuning tools in a dry place away from moisture. This prevents the wood from swelling, cracking, or warping in ways that could compromise precision and safety during future sessions.
| Tool | Features | Use |
|---|---|---|
| Lever | Hardwood, 55 cm (pivot) or 90–100 cm (fulcrum) | Tensioning the ropes |
| Locking pliers | Self-locking | Clamping the rope after pulling |
| Screwdriver | Flat-head | Separating the ropes to insert the lever |
| Hammer | Standard | Adjusting the metal rings |
| Rope puller | With rope loop | Multiplying the applied force |
Creating tension knots to complete the tuning process
To ensure that your djembe head has adequate tension, you need to create tension knots. These knots maintain the pressure required to produce the best sound.
What are tension knots?
Tension knots, often called diamonds, are knots that cross the vertical ropes. Interlacing the ropes in pairs creates crossover patterns that increase the pressure on the djembe head. This technique lets you adjust the tension progressively without having to start the entire tuning process again.
Steps for making effective tension knots
Follow these steps to create tension knots:
- Begin by passing the remaining tension rope between the djembe bowl and the first back-and-forth section of lacing.
- Bring it back over the last of the two vertical strands.
- Feed the remaining rope between the two vertical strands again so that it crosses the first strand.
- Pull the rope firmly so that the two vertical strands cross and lock against each other.
- Repeat this process for every pair of vertical strands around the entire djembe.
Why the knots should be low and tight
It is crucial to position the knots as low as possible, close to the lower bridges. The tighter the crossovers are and the closer they sit to the lower ring, the more effectively tension is transferred to the head. This ensures better sound quality.
Regular maintenance and adjustments
Check your knots regularly to maintain tension. Every month, make sure that vibration has not caused them to loosen. If the head has loosened slightly, add another tension knot to make the necessary adjustment.
Practical tips for avoiding mistakes and extending the life of your djembe
To ensure your instrument lasts and to avoid common mistakes, it is essential to follow a few good practices. These tips will help preserve the quality of the head and maintain the proper tension.
Warm the head before applying tension
Before beginning any tuning work, it is crucial to warm the head. Play gently over the entire surface for five to ten minutes. This relaxes the collagen fibers and reduces the risk of tearing during the first pulls.
Increase rope tension gradually
Take a gradual approach when tensioning the ropes. Do not try to reach the final tension in a single operation. Work in successive passes around the entire djembe, gradually increasing the force applied with each complete circuit. This helps prevent excessive tension that could damage the instrument.
Wear gloves and take regular breaks
Wearing nonslip work gloves is strongly recommended. Polyester ropes create intense friction against the skin of your hands during forceful pulls. You should also take regular breaks every fifteen to twenty minutes. These rest periods allow the animal hide to adapt progressively to the new tension, reducing the mechanical stress that can cause invisible microcracks.
What to do if you find cracks or tears
If you see cracks in the head, stop applying tension immediately. Even superficial cracks are weak points that can widen under pressure. If the head tears despite every precaution, do not attempt to repair it with adhesives or stitching. The only viable solution is to replace it with a new head. You can entrust this work to a specialist craftsperson or do it yourself with the appropriate tools.
The service life of a djembe head depends directly on the quality of its tuning and maintenance. A correctly tensioned and regularly adjusted head can last twelve months or longer. By contrast, a head subjected to abrupt tension may fail within only a few days. When you are not playing, store your instrument in an environment with stable temperature and humidity.
For more advice on tensioning and caring for your instrument, read our guide to the subject.
Conclusion
Completing the tuning of your instrument is a crucial step. Once you have assembled your djembe and the head is dry, it is time to pull the rope. This distributes the pressure evenly around the drum. Gently sanding the striking surface with sandpaper ensures a comfortable playing experience. Avoid using power tools, as they can weaken the head.
Mastering these techniques transforms your musical experience. The pivot-lever and fulcrum-lever methods offer solutions suited to every level of tension. Remember to check the tension regularly and warm the head before playing. This extends the life of your instrument and improves its sound quality.
Finally, share your knowledge with other enthusiasts. Passing on tuning techniques helps preserve the authenticity of this fascinating instrument. For more advice, read our guide to the subject.